Poppy seed Pastry Buns
Can I just start off saying that I come from a family where our grandma used to be the queen of all things baked, bulochki/pastries and roulades in particular? Her bulochki (aka pastries) were so soft, so fragrant, so delicious and for years I tried to make mine similar to the way hers came out and never succeeded. Mine were soft and delicious when they just came out of the oven, but would harden or go stale very quickly.
Other times, in an attempt to make my pastries softer and stay fresh longer, I would increase the amount of liquid in the recipe, which would result pastries that looked like a melted candle, all liquidy and almost runny, while good on taste, not so much on presentation. I don’t quit easily, in fact I don’t know one recipe where I quit before reaching the desired goal.
Over the years I have gained a lot of knowledge about the yeast dough, how it works, what it likes and what it dislikes. I think this recipe will conclude my search for the perfect dough, perfect technique and perfect pastries. I am really excited to share it with you, as I like knowing that I helped someone find that perfect poppy seed bun recipe and saved you from the same trouble that I had finding it.
Here’s some general theoretical knowledge about yeast dough, that I have collected over the years.
Secrets to success with Yeast Dough
Knead until the gluten is well developed.
- What is gluten, you ask? Gluten is what gives the elastic texture to baked goods. This happens when the water and flour bind into a strong system that holds like glue. Dough with no gluten tears into chunks if you were trying to rip a piece away. Dough with well-developed gluten pulls similarly to glue.
- To find out if the gluten is well-developed flatten walnut size ball of dough into a disk, then stretch between two hands into a “window” through which you’re able to see. The dough should stretch into a thin film-like window and not break. This indicates that the gluten is well developed. This test is called the “windowpane test”. When kneading with a mixer, at this stage the dough stops sticking to the bowl.
Why is gluten development important?
- Gluten is what will eventually hold the dough structure around the air bubbles as they expand. The strands of gluten will easily stretch and easily accommodate for the air. If the gluten is not developed and you proof the dough and then shape it, most likely it will result in a very misshapen product that ‘runs’ instead of holding its shaped and deflates very easily.
- If you braid a challah, it will most likely tear at each twist, as there is not enough gluten development for the dough to properly stretch with the rise, and if you were to make a roulade, then it will most likely be flat’ish instead of holding the round shape.
What is “Strong flour”?
- When the word “strong” is used to describe flour, it usually means that it is high in gluten content. The higher the gluten content, the more moisture the dough can hold. That’s how in ciabatta bread dough you can have a high ratio of water to flour and still get bread with huge bubbles that don’t collapse as you take it out of the oven.
Fat in yeast dough
Fat is what makes the bread soft and pastry-like. Fat is also what inhibits the formation of gluten. This is not necessarily a bad thing, especially when it comes to shortbread cookies. Why do you think it’s called “shortbread”? That’s right because the gluten strands had no chance to form and therefore are short. If you’re aiming to get crumbly or flaky texture, no gluten formation is a good thing. Knowing when to add the fat will determine the texture of the baked goods.
In summary:
- Adding fat to flour and no or little liquid – shortbread, pie dough, quick puff pastry.
- Adding liquid to flour and working it until gluten develops (no fat) – rubbery textured breads (typical artisinal breads).
- Adding liquid to flour, kneading until gluten formation, then adding fat – pastry buns or brioche type of bread
If the fat is added once the gluten is fully developed, the pre-formed gluten networks will allow the dough to keep its shape when being formed and baked, while butter will keep the pastry fluffy and soft.
Adding the fat before the water, will inhibit the formation of gluten. Each flour particle will be coated in fat, which prevents from gluten strands being formed
So now we know that fat can inhibit the development of gluten. There is one more thing though – depending on how much fat we add, we can get soft pastry, without it becoming a shortbread. “Amount’ is the keyword here.
Understanding these tidbits of information about the the yeast dough, gives you an upper hand when it comes to working with yeast. I hope
So let’s get to the recipe itself.
Poppy Seed Pastries

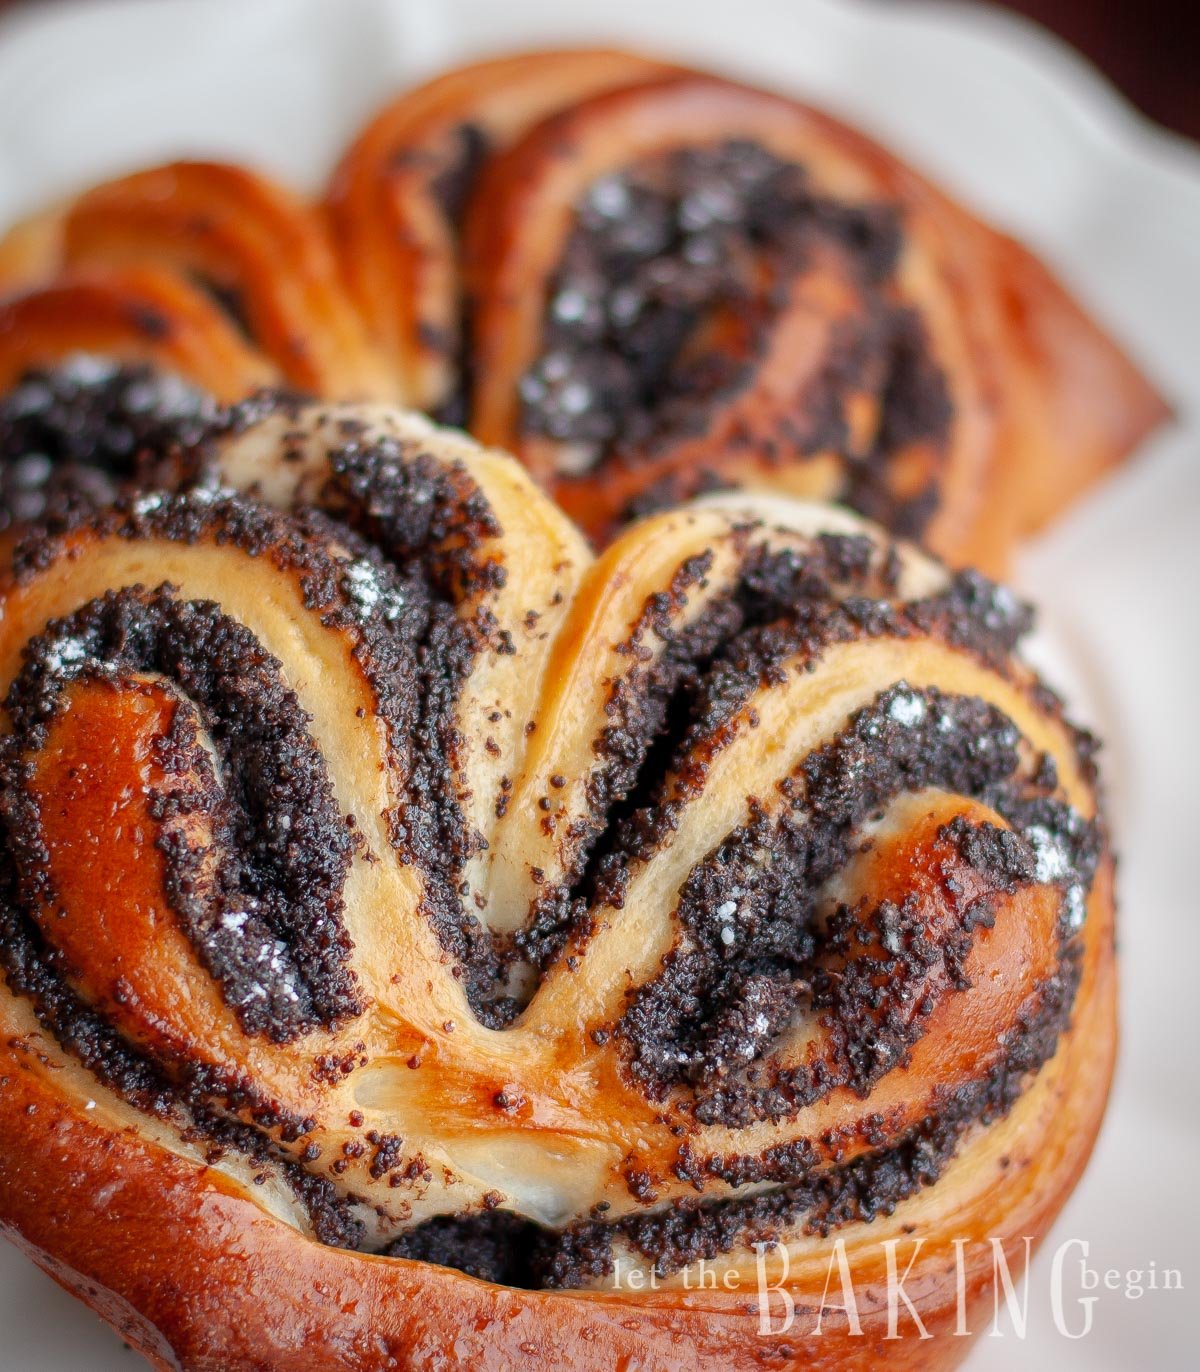
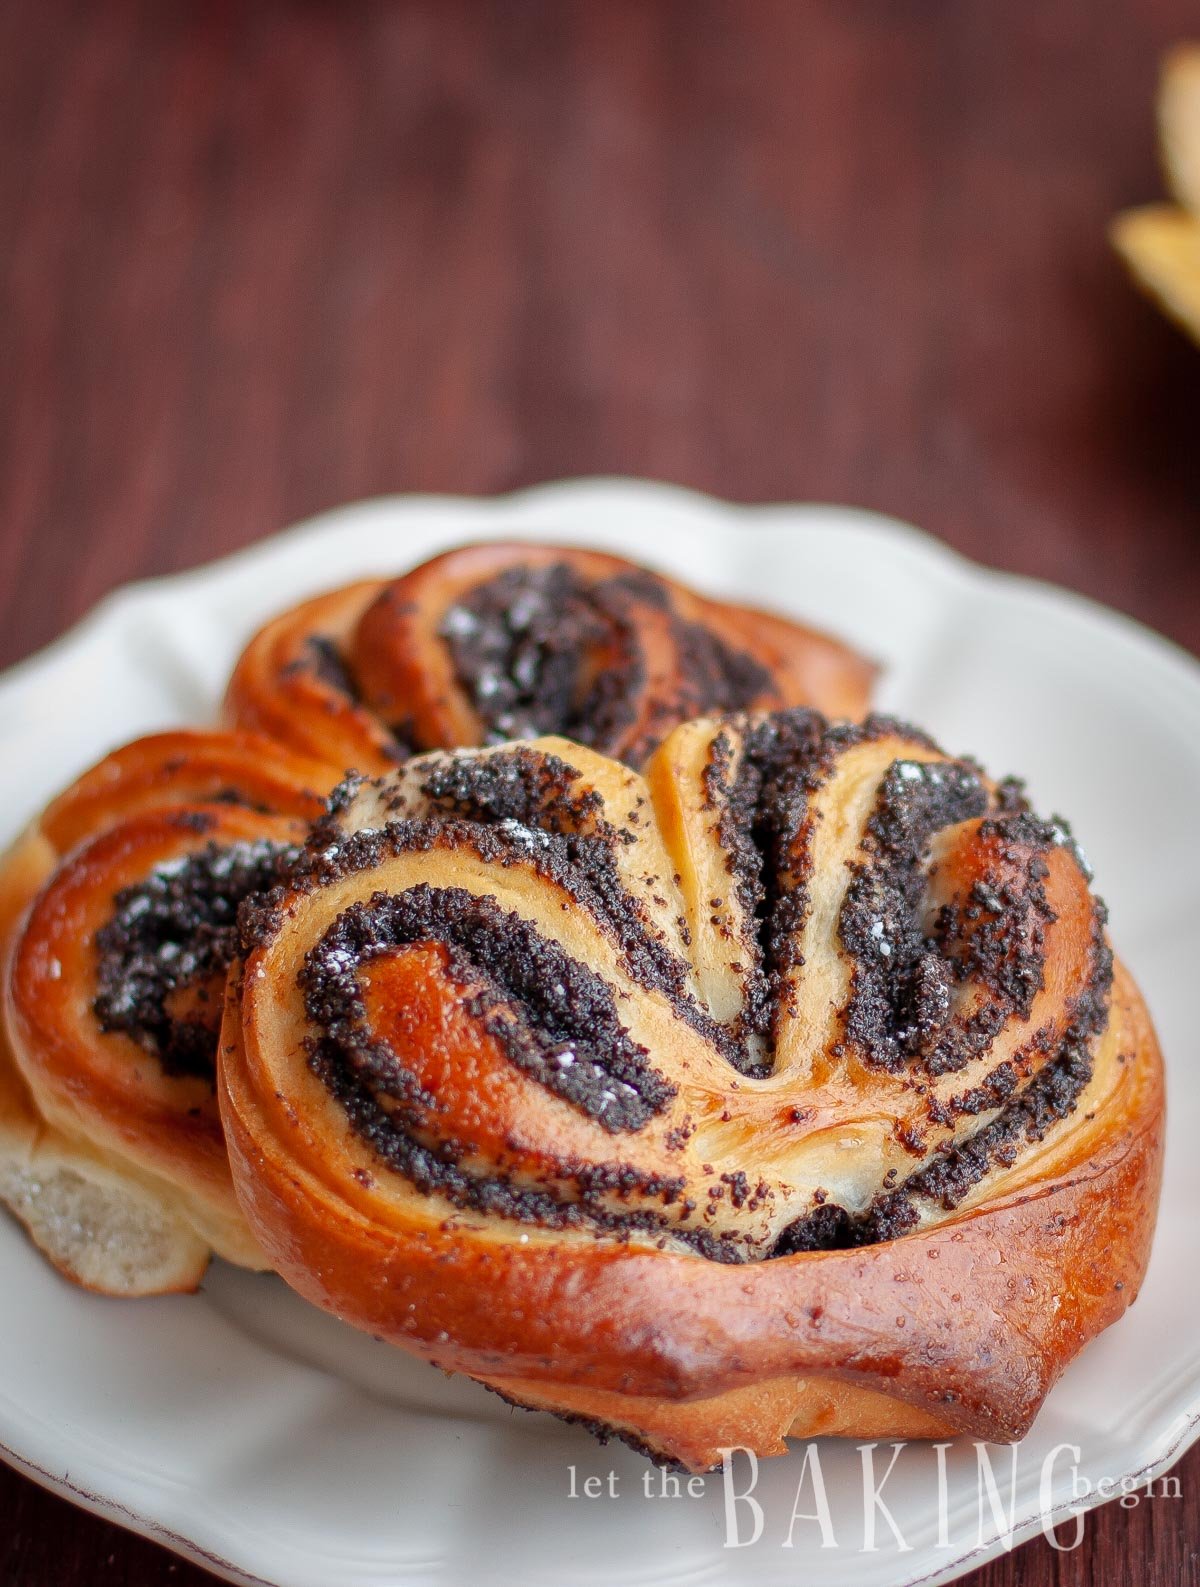
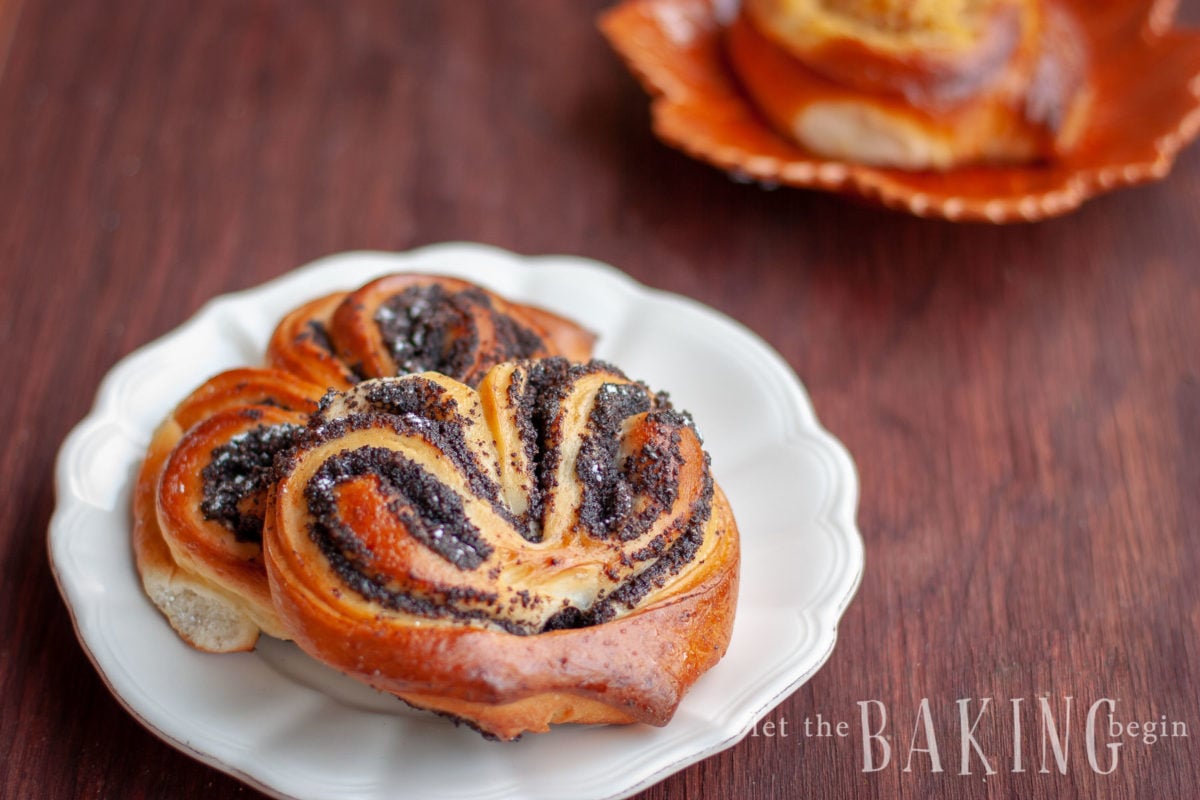
Soft and delicate buns filled with a sweet poppy seed filling.
Ingredients
Dough
- 1 1/4 cups whole milk (warm - 90F-100F)
- 1/3 cup granulated sugar
- 1 tsp kosher salt
- 2 tsp active dry yeast (use Platinum Superior Baking Yeast for amazing results)
- 1 large egg
- 1 egg yolk
- 3 .5 cups all-purpose flour or bread flour
- 1/4 cups unsalted butter, room temperature
Poppy Seed filling
- 1 cup dry poppy seeds (taste to ensure they're not bitter, which would indicate that they're stale)
- 1 qt. whole milk
- 1 cup granulated sugar
- 1 teaspoon vanilla extract
Glaze
- 1 egg yolk
- 1 tbsp water
Instructions
How to make the Pastry Bun Dough
-
Heat 1¼ cup milk until lukewarm, add 2 tsp yeast and stir until dissolved. Let rise for15 minutes or until doubled in size. This ensures the yeast isn't expired and is still active.
-
Meanwhile, in a bowl of an electric mixer combine 1 egg, 1 egg yolk, salt, and 1/3 cup sugar. Sift 3½ cups flour in and add the risen milk/yeast mixture. With a hook attachment combine flour and the milk mixture, then continue to knead on slower speeds until the dough completely stops sticking to the bowl. It should look very smooth and gluey. You should be able to stretch a piece of dough so thin that you can see through it, without the dough tearing (a technique called "windowpane test"). The kneading should take about 15 minutes.
-
Next, add room temperature butter and knead until butter is fully incorporated and no traces of it are left on the bowl, about 5 minutes.
-
Shape the dough into a ball. Place in a well-greased bowl and oil the outside of the dough. Then, cover the bowl with a clean kitchen towel and allow to rise in a draft-free place (fridge, top of cabinets, inside of the oven with the light on), allowing the dough double in size, about 1.5 -2 hours. Meanwhile, prepare the filling.
How to make the Poppy Seed Filling
-
In a medium saucepan combine 1 cup poppy seeds, 1 qt milk, allow to come to a simmer and continue to cook for about 30 minutes. You can let it sit covered off the heat, for another 30 minutes.
-
Drain through a fine mesh sieve.
-
Process the cooked poppy seeds in a grinder, food processor, or a powerful blender (like Vitamix) stopping and scraping it down the sides every minute or so.
-
Add 1 cup sugar, 1 tsp vanilla extract and mix.
How to make and shape pastries
-
Once the dough is doubled in size, punch it down. Remove from the bowl to a well-oiled surface and shape the dough into a log.
-
With a rolling pin, roll out the log to about 30 in x 12 in.
-
Spread the poppy seed filling along the length of the dough, leaving about 2 inches at the other end.
-
Roll it 'jelly-roll' fashion away from yourself and pinch the ends so it does not come apart.
-
With a sharp knife and a quick motion, cut the roulade about every 3 inches and transfer to a baking sheet, keeping the poppy seed buns about 3 inches apart.
-
How to shape a "heart" pastry bun: With a knife cut in the middle of each rolled piece, leaving the two pieces attached by about 1/2 inch of dough. Take the two ends, separate them and lay them inside part out facing up, side by side, making it look like a heart.
-
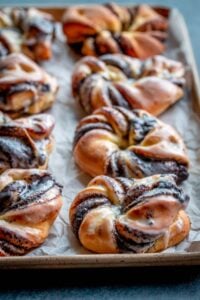
Transfer to a baking sheet, lined with parchment paper. Continue with the rest of the dough, placing each piece about 3 inches apart.
-
Cover with a clean kitchen or paper towel and place someplace warm (top of cabinets of fridge etc.) allowing the pastries double in size, about 40 minutes.
-
20 minutes into the proofing, preheat oven to 350F.
-
Whisk 1 egg yolk and 1 tbsp water, then brush pastries with egg yolk mixture right before placing them in the oven.
-
Bake for about 15-20 minutes, until golden brown. Transfer to a cooling rack.
-
Serving Suggestion: Dust with powdered sugar before serving. Best eaten right away, but will keep fresh for at least 6 hours.
Recipe Notes
Proofing tip: If your oven turns to a low temperature of 100F, you can place it in the oven and leave the door ajar. Otherwise, just put it on top of the fridge or cabinets where the temperature is higher.
**The poppy seed filling will look pretty dry. This way the filling doesn't leak out when baking.

Thank you for following me on Instagram, Facebook & Pinterest!
Hashtag your photos #LetTheBakingBeginBlog so I can see your creations and for a chance to be featured!
Marina | Let the Baking Begin


Hi, I was wondering if these can sit in the fridge for a few hours before baking
Thank you so much for sharing this recipe. I am excited to be making them currently to surprise my father. I do have a question: I have been kneading in my mixer for about 20 minutes (slightly over 15) and it is still sticking to the sides of the bowl. I am using a glass bowl, I wonder if that makes a difference? Or should I have added more flour? It is hard without weights in the recipe. Would you have recommended I keep kneading, or do something else? It was even more sticky after I added the butter. Thank you for any suggestions. I can’t wait to see how my first attempt turns out.
Hi Kay,
You can add a tablespoon or two more of flour and see if that makes a difference. But if it’s tacky (doesn’t stick if quickly touched with a finger) then it’s good.
Thank you so much! I will check for the tackiness next time. Currently waiting to see how these turn out. I am excited.
I did add the weight of ingredients (right below the ingredient list you can switch between metric and US measurements).
First time and turned out great. Wasn’t sure about poppyseed in milk part. If they were suppose to swell ? Did all the steps, my poppyseed and sugar was a little runny but turned out great at the end.
I used this recipe to make poppyseed rolls and tart cherry buns, and they turned out amazing! This will definitely be my go-to recipe for all things pastry. So soft and fluffy, and stayed soft for days. Seriously the best! Thank you so much for sharing your knowledge on pastry dough. I learned a lot from your posts! God bless you, Marina!
Good day,
Congratulations! Amazing recipes! <3
If you don't mind , can you tell me how many eggs we need?
I ask because in ingredients you have 1 egg and 1 egg yolk for glaze and where you explain the dough is 1 egg and 1 yolk.
For the dough we need 1 egg or 1 egg + 1 egg yolk?
Thank you so much
Hi Rotundu,
You would use 1 egg and 1 egg yolk for the dough and then one additional yolk for the glaze. I have changed the instructions to reflect this clarification. Good luck!
These are just like what I had as a kid in a European bakery,
Eh. Rey yummy, I added raisins to the poppyseed filling, and lemon rind.
Sounds amazing! Thank you for sharing Annelie!
Best you’ll ever taste !!!
Had some as a child growing up , going to a European Bakery.
I added raisens to the poppyseed filling,when I made these here,
as well as some grated lemon rind to the sugar before adding to the filling.
I’ve gotten rave reviews from the people I made it for .
Telling me to open a Bakery !! ?
Would love to have the Apple-filled buns that are similar,
with cooked apple filling ??
Hi Anelie! Thank you for such wonderful feedback! I was part of the instrument to bring joy to you and your family!
For the apple filling, I shred apples, add sugar to taste and allow them to sit together for a couple of minutes. Then I squeeze the extra liquid and use the filling to fill the buns. If you have some semolina and add about a tablespoon of semolina to about 3 shredded apples, the semolina will soak up any extra liquid.
Did you use all purpose flour or Canadian?
I use all-purpose Canadian flour 🙂
Great recipe, but sound a lot like a brioche dough without the second chill in the fridge?! Can any yeast dough be used for this?? Thanks!
Thanks Diana.
I think any sweet yeast dough should work here.
This recipe sounds great. Is it possible to have pictures of how to shape pastries?
Hi Nina, I don’t have pictures of how to shape it, but Mom’s Dish (http://momsdish.com/recipe/359/piroshki-tree-ways) shows how to do it. Just follow to her link and look at pictures 🙂
I love bulochki, too! Your pastry looks gorgeous, and it reminds me of my childhood. I always loved poppy seed on sweet bulochki!
love this idea! it’s nice to be able to have poppy seeds on something besides a heavy bagel. can’t wait to try this recipe!
Yes and if you’re used to a store bought poppy seed filling then you’ll be pleasantly surprised at how much more delicious this poppy seed filling is (that is if you haven’t done it this way before, I don’t know)), because the seeds are ground not whole.
Well, let me know how you like it and thanks for stopping by!